I fell down an Instagram rabbit hole on blush last week after finding myself marvelling at Zendaya’s goddess-like glow at The Odyssey premiere in New York. Created by makeup artist Ernesto Casillas using Prada Beauty, the look was so captivating it has already earned its own moniker: “toasted.”
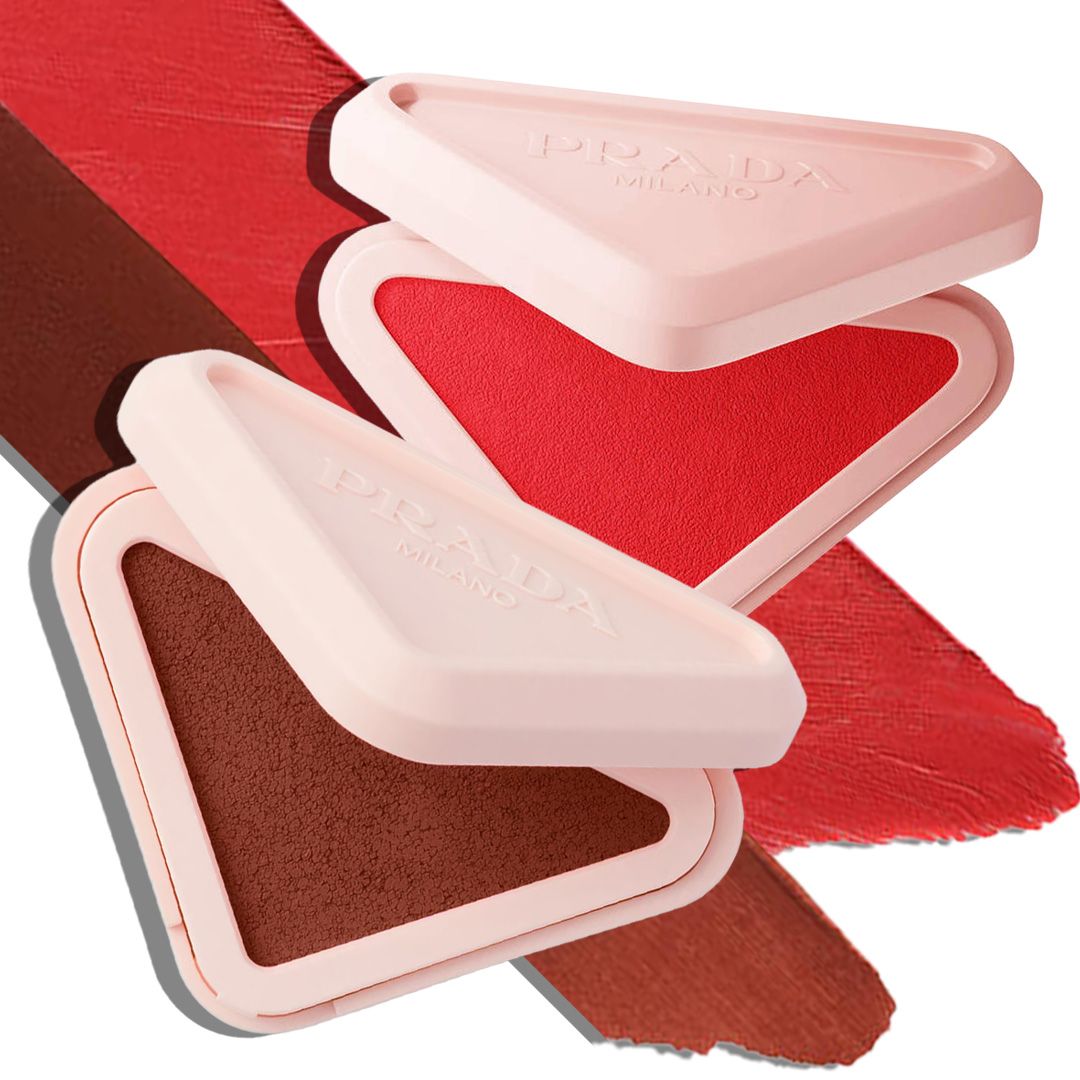
“For the premiere, we wanted Zendaya’s skin to look beautifully luminous and sun-kissed,” says Casillas. “The makeup was intentionally very minimal, with fresh, glowing skin as the foundation of the look.” For that sun-kissed finish, he used a combination of Prada’s Touch Blush in deep brown Caffè and the bright red Cherry over Zendaya’s cheeks, nose, temples, forehead and chin.
The other wow factor? Barely there eye makeup, meaning no mascara – something I usually panic about but it’s perfect for summer when hot days can lead to smudges or post-plunge raccoon eyes.
But back to the rabbit hole. As I was “researching” Zendaya’s look, Instagram kindly served up a stream of makeup tutorials promising to lift your face with a few strategically placed swipes of blush, which led me to a revelation: I was still putting on my blush like I was in my 20s. And, just like low-rise jeans or slip dresses, it was no longer working for me.
View this post on Instagram
As one of my favourite Instagram makeup artists, Trevor Barrett, explained in his soothing ASMR-type voice, blush can lift the entire face. I had been caught in the age-old routine of “smile and apply,” dabbing colour onto the apples of my cheeks. However, as we mature there is a little problem with that: when the face is at rest, the cheeks slide down and so does the blush.
As Barrett demonstrated, and I dutifully mirrored, blush should actually be applied to the highest part of the cheekbone, just beneath the outer corner of the eye – where you might normally place highlighter – before being blended upwards towards the temples. The technique draws the eye upward and creates the optical illusion of more lifted, “snatched” features.
I’ve been practising it ever since, adding a toasty bronzer to my temples, nose and the hollows of my cheeks (blended upwards towards my hairline, of course) to mix in a little Zendaya glory. And it works! I’ve been told I “look really well” and have even been asked what I’ve changed about my skincare routine.
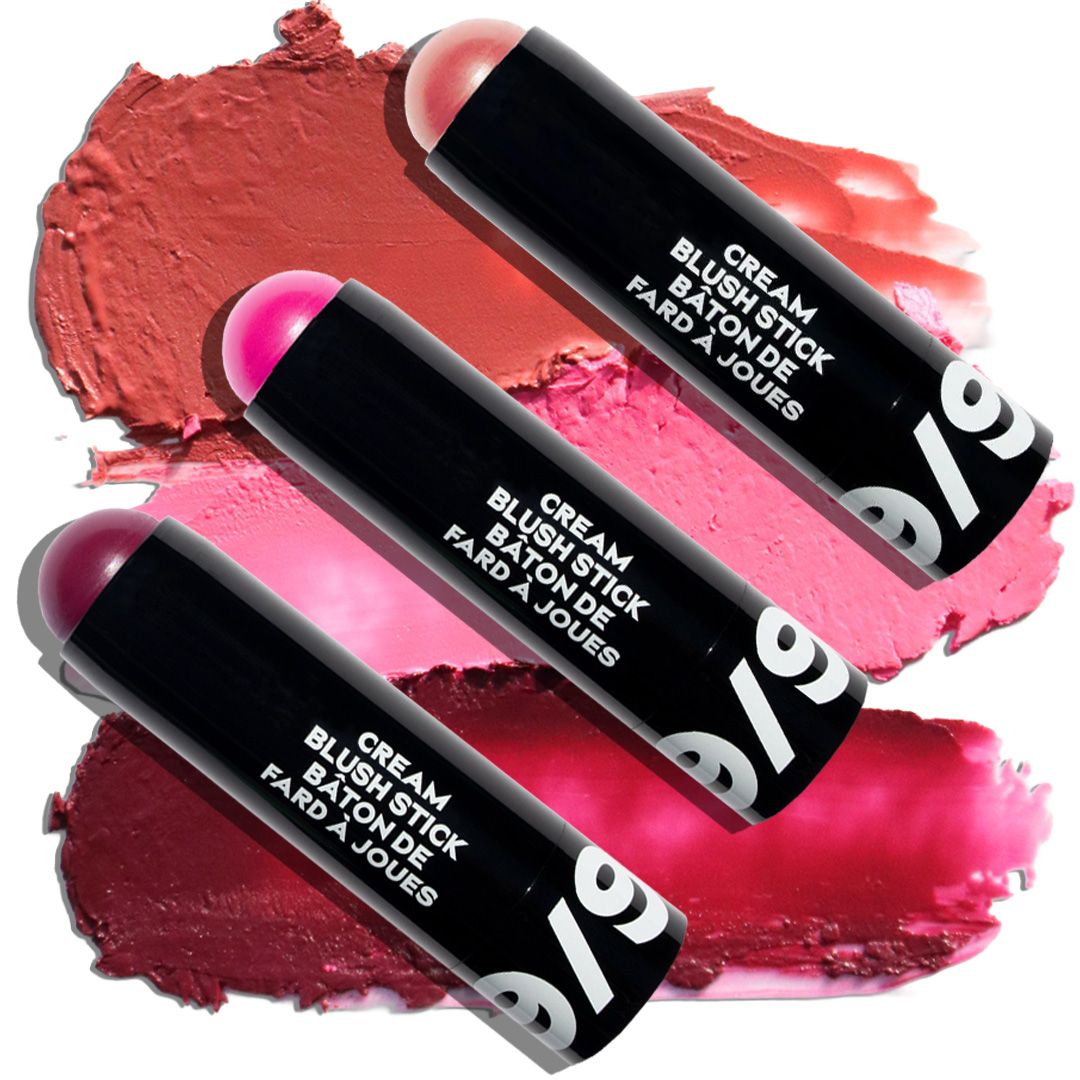
A few tips I’ve learned along the way. First, if you’re using a stick or cream formula (I love Canadian brand 19/99 Beauty’s Cream Blush Stick), dot the product along the cheekbone before blending it with a brush or your fingers. Also, remember to blend from the bottom, moving up and outward so that the face looks lifted.
Finding the right shade is just as important as placement. To add freshness choose delicate, ethereal shades that brighten the face and blend seamlessly rather than highly saturated colours that can overwhelm more mature skin. Consider your skin’s undertone, too: cool-toned complexions suit blushes with blue-based pinks and berries while warmer skin tones come alive with peaches, apricots and rosy-gold hues.
Sometimes the biggest beauty upgrade isn’t buying a new product – it’s simply using the one you already own in a new way.